
STOP THE SCROLL!: How to take captivating Before + After Photos for Your Brow or Lash Business
The ultimate guide for lash lift + brow artists who want their work to sell itself.
Before + After photos are one of the most powerful marketing tools you have as a brow and lash artist. A single great image can:
✔ Book new clients
✔ Validate your prices
✔ Build trust instantly
✔ Make your Instagram grid look polished and professional
✔ Show what your services really deliver
But getting consistently beautiful Before + Afters isn’t about luck — it’s about systems. Lighting, angles, consistency, posing, lenses, and color correction all matter. And the good news? You don’t need a $2,000 camera to get pro-level results. A smartphone and a few simple tools from LashLiftSupplies.com can take your content from “fine” to “WOW.”
Let’s break it all down.
1. Lighting Is Everything (Seriously. Everything!)
If you only follow ONE tip from this post, let it be lighting.
Great lighting = great photos. Bad lighting = dull, shadowy, flat results.
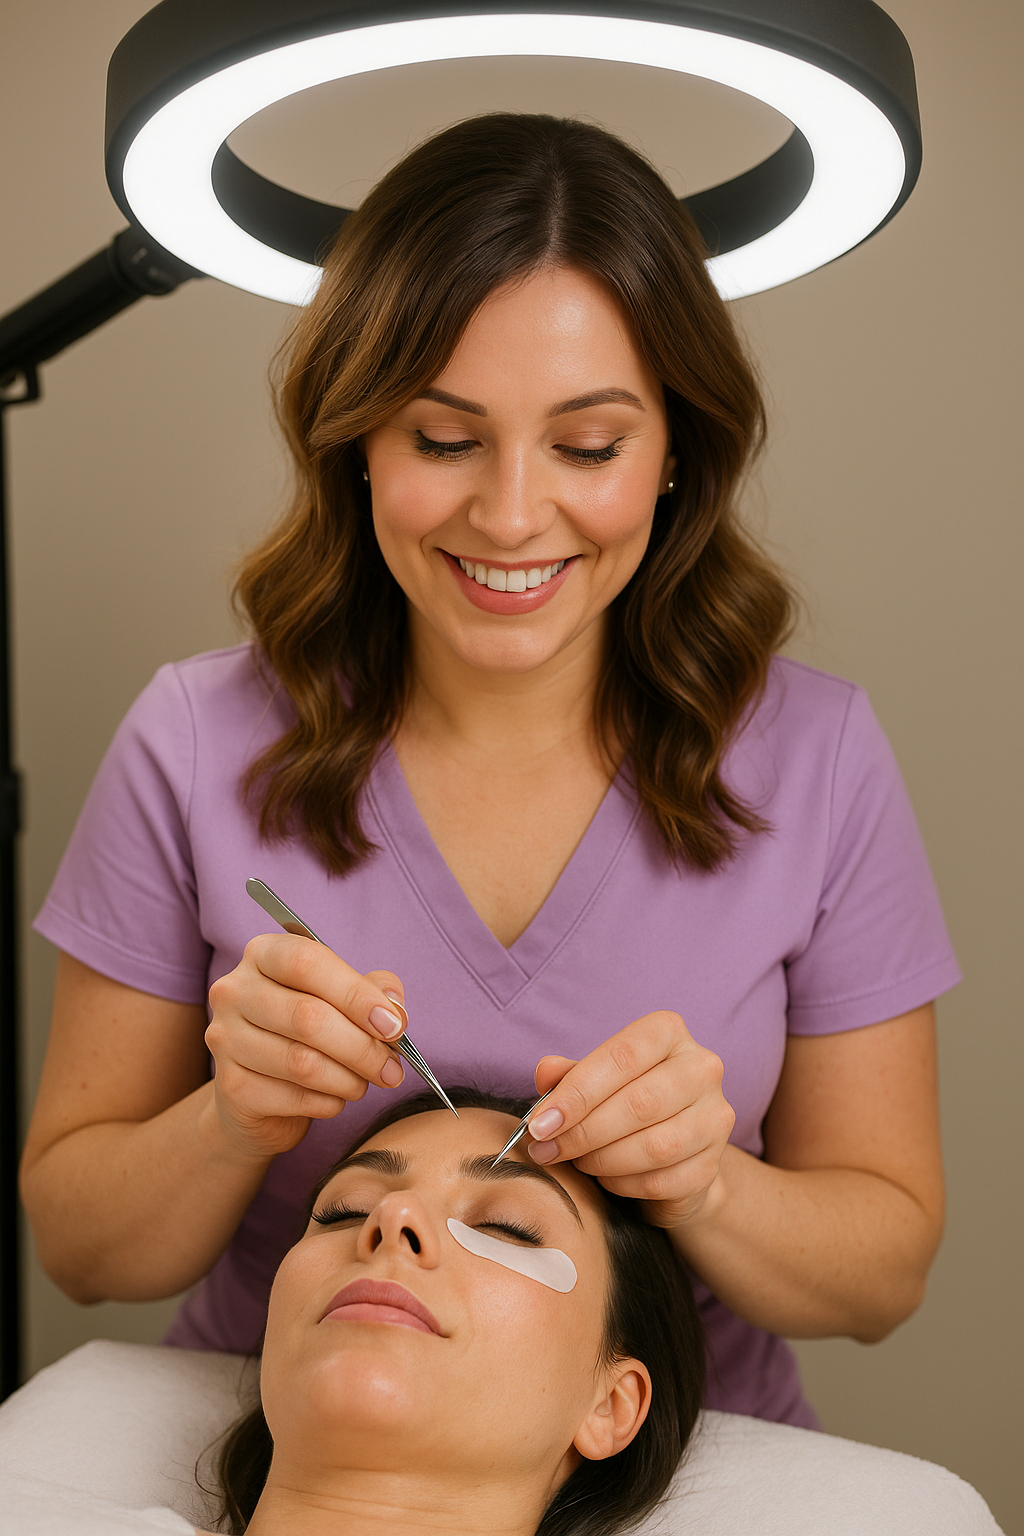
✔ Use a Ring Light or Half Moon Light
A consistent light source will create even skin tones and crisp lash lines.
Some of our favorites:
Lionvision Half Moon Light (great for during services as well)
Table Top Ring Light (can hold your phone and stand on its own)
✔ Avoid overhead lights
They cast unflattering shadows over the eyes — especially the brow ridge.
✔ Position the light at 45 degrees or a foot away from and directly in front of the client’s face
This avoids “blowout” brightness and gives dimension to lashes and brows.
Pro tip: Keep lighting the same in your Before and After so clients can clearly see the transformation.
✔ Play around with cool and warm tones
Most lights now offer various settings with warm or cool toned lights. Play around with what is most flattering for your client or pick a signature tone and stay consistent with that for brand, tone, and style recognition.
2. Master the Perfect Angles for Brows + Lashes
For Lash Lifts:
Make sure eyes are wide open so that the Lift is as visible as possible.
Capture the side angle to show strength of curl.
Direct the client where you want them to look in both the Before and After image so their gaze is consistent.
Tools that help:
After Care - Apply in your shots as an upsell tool that makes lashes really pop and look neat onscreen
Shields and Rods - great for BTS and action shots
For Brows:
Shoot head-on to show symmetry.
Take a close-up of the arch for detail.
Capture both full face and brow-only shots.
Tools that help:
Disposable Mascara Wands and Wonder Wands – brush brows upward and in a neat position for a clean finish
Brushes make a difference – Clean Tint and (Lami or Lift) Solution application is key for beautiful end results and images.
3. Posing: Small Adjustments Make a Huge Difference
Clients often default to awkward expressions — so you must guide them.
✔ Ask them to relax their forehead
This prevents “surprised brows.”
✔ Tilt the chin slightly up or down
A 5-degree angle can change the entire lash visibility and reduce/create shadows.
✔ Have them close their eyes gently
No squeezing! It wrinkles the eyelids and distorts the lashes.
✔ Tidy the brows + lashes before shooting
Use a clean wand or brow brush — which you already retail.
✔ Encourage a soft smile
Make sure clients look 'happy’ in their After shots (yay, they love their service!) without too harsh of a smile that can wrinkle the area around the eyes.
4. Lenses + Smartphone Settings That Work Best
You do not need a fancy camera — but you do need to avoid distortion.
✔ Use 1x on your iPhone (never .5 wide-angle)
.5 makes foreheads look huge, lashes look warped, and brows look stretched.
✔ Zoom slightly to 1.2–1.5x
This flattens perspective beautifully.
✔ Turn on Portrait Mode
Softens skin, sharpens features, and isolates the brows/lashes.
✔ Make sure your lens is clean
This will help keep your images crisp and clear.
5. Color Correction: Your Secret Weapon
No over-editing. No fake lashes. No smoothing filters.
Clients want to see YOUR work — not TikTok skin filters.
But light color correction is essential.
✔ Adjust brightness + contrast
Make lashes and brow hair pop.
✔ Reduce shadows
Brightens the under eye and brow bone.
✔ Increase clarity slightly
Boosts detail without making skin look harsh.
6. Don’t Forget Consistency (Branding Matters!)
Your grid should feel cohesive — not chaotic.
Even if every client is different, your visual style should be recognizable.
Ways to create consistency:
Shoot with the same background
Keep lighting coming from the same direction
Use similar framing
Add your watermark
Use the same presets for color correction
Why this matters:
Clients trust artists who look polished, consistent, and intentional. Your photos should scream professional from the first scroll.
Makes lifted lashes appear glossy, strong, and healthy. Clients LOVE the shine.
Final Tips to Make Every Photo Sell Your Work
Wipe smudges off your phone lens
Keep a simple background (let the focus be on your work!)
Take 20–30 photos per client — you’ll only use 1–2
Review photos before the client leaves
Always ask for consent from your client to shoot and post - verbal and written!
Ready to Create Photos That Book You Out?
Explore our artist-approved tools and build a photo setup that supports your lash + brow transformations:
👉 Shop LashLiftSupplies.com
👉 Lash Lift Essentials
👉 Belmacil Tints
👉 Lamination Must-Haves