
How to Get the BEST RESULTS from a LASH LIFT: Tips for Client Satisfaction
Lash Lifts transform your clients’ natural lashes, giving them the gorgeous, eye opening look they’ve always wanted—without the need for extensions or mascara. This service takes a client’s natural lashes and lifts them upwards, providing 6 - 8 weeks of beautiful curl. But like any beauty treatment, the results of a Lash Lift depend greatly on the technician performing it. With the right products, proper technique, and attention to detail, you can ensure every client walks away with stunning results.
Here are our top tips and tricks to help you perfect your Lash Lift technique and deliver consistently beautiful outcomes:
1. Set the stage - Create a Comfortable Environment
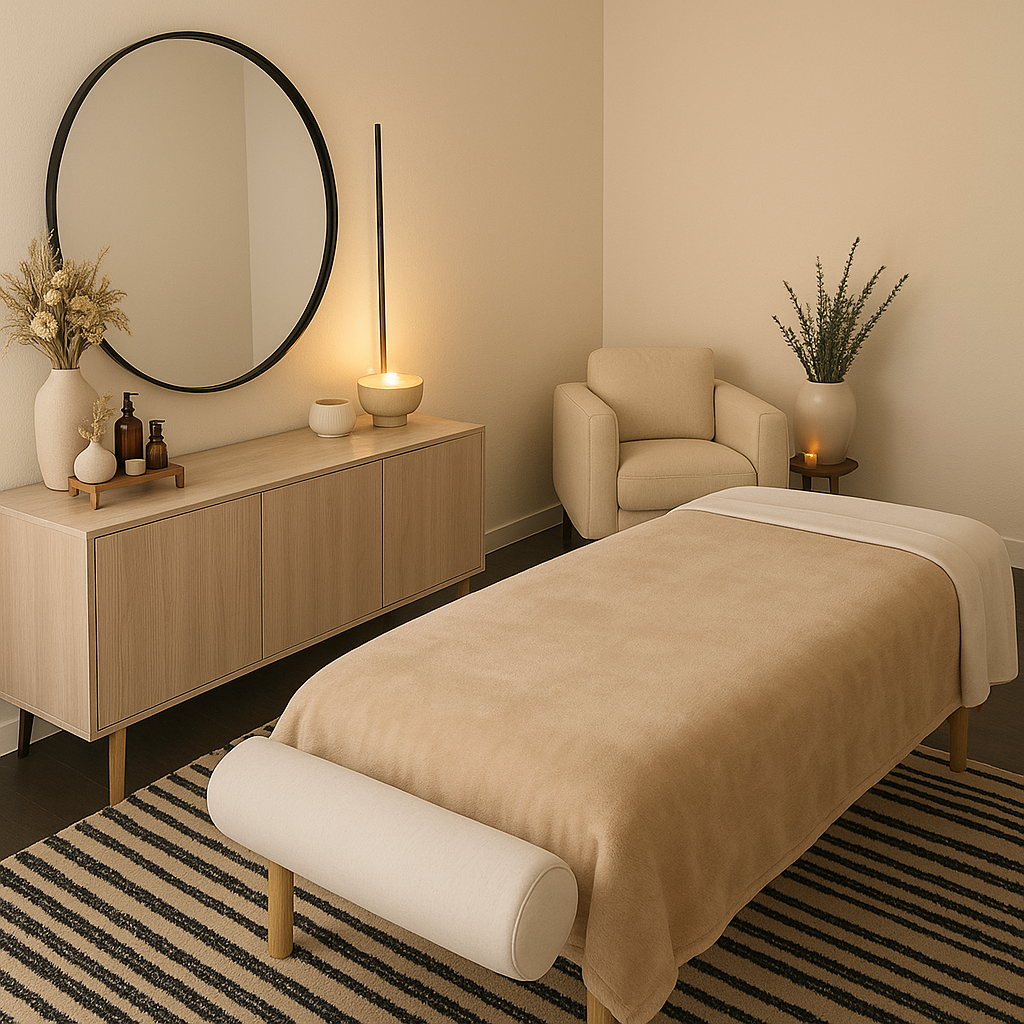
Client comfort plays a huge role in the overall experience—and a relaxed client is much easier to work on. Here’s how to elevate your setup:
Temperature matters: Make sure the treatment room is neither too hot nor too cold. A room that feels cozy and calm will help clients fully relax.
Offer blankets or bolsters: A lightweight blanket or a bolster under the knees can relieve pressure on the lower back and make longer appointments more comfortable. A warm blanket on top of your client can help them fully relax.
Check your setup: Ensure your bed is at the right height and that you’re using an ergonomic stool or chair to protect your posture and joints. Prioritizing your own comfort and body alignment will help you stay energized and prevent long-term strain.
Adjust lighting and music: Use lighting to make sure that you have a clear view of all of your client’s lashes, and music to set the mood of your work room - are you going for fun/upbeat or spa/zen vibes?
Provide clear communication: Let your client know what to expect step-by-step. This helps build trust and allows them to feel confident and cared for throughout the service.
Comfort is key—not just for the final result, but for building long-term relationships with clients who feel truly pampered and cared for. They should look forward to coming to your space not just for the great results, but for the overall experience.
2. Start with a clean canvas
Before you begin lifting, it’s essential to thoroughly clean your client’s lashes. Use a soft Cleansing Brush + Elleebana’s Make-Up Remover to remove makeup, dirt, oil, and any other debris that may interfere with the lifting solution. Let the lashes dry completely before proceeding. Skipping this step can prevent the solutions from properly penetrating the lash hairs, leading to inconsistent or underwhelming results.

3. Measure the lashes to choose the right Rod or Shield
The rod or shield you select plays a major role in the final look. These help guide the shape of lashes during the lift, and choosing the right size is CRITICAL in getting an impactful, but not over-curled result. Use the Elleebana Tree Tool to measure out what size rod or shield will work best.
Identify the measuring marks: The Elleebana Tree Tool has four measuring marks on one arm, representing different rod or shield sizes.
Gently place the tool: Position the tool under the lash line, ensuring the lash tips are visible.
Observe the lash tips: Note which measuring mark the lash tips reach or slightly exceed.
Determine the size: The corresponding mark indicates the recommended rod or shield size for your client's lashes.
Consider lash characteristics: Remember that lash length and thickness also play a role in choosing the right rod or shield size. For example, short, fine lashes might benefit from a small shield, while long lashes might be better suited for a large shield.

4. Know Your Processing Times
Elleebana offers two excellent lash lift systems: One Shot and Elleeplex Profusion. Each comes with its own processing times and benefits.
One Shot is known for faster processing, making it a favorite for experienced artists with time-conscious clients.
Elleeplex Profusion is a gentler system that’s ideal for clients with fragile lashes or those prone to overprocessing.
Processing time should always be customized based on the health, thickness, and density of your client’s lashes. Knowing how to properly time your treatments ensures the lashes are lifted without being compromised.
5. Condition and Nourish the Lashes
After removing the setting solution, it’s time to nourish the lashes. We highly recommend using ReGEN, Elleebana’s plant-based conditioning treatment as a third step. ReGEN helps strengthen and hydrate the lashes, promoting healthy growth and minimizing breakage. Let a light layer (not too much so the lashes don’t become weighed down) sit for three minutes before removing it—or if using the Elleeplex Profusion system, you can combine ReGEN with Step 2 for an efficient and nourishing treatment.
To extend the benefits post-appointment, suggest that your client use a lightweight lash conditioner to hydrate their lashes without weighing down the Lift - our favorite options are Elleeplex Clear Aftercare or Elleeplex Hyaluronic Boost Serum. Add a bit more length and volume + rich black color with Elleevate Mascara, a lash-loving mascara.

By taking the time to perfect your technique, prioritize client comfort, and educate your guests on proper aftercare, you set the stage for stunning, long-lasting lash lift results. Remember, client satisfaction is rooted not just in the outcome, but in the overall experience. When your clients know that they are well cared for they’ll keep coming back, and back, and back — and they’ll tell their friends, too!
Ready to upgrade your toolkit? Visit our store or contact us to learn more about Elleebana’s top-performing products!